
Invent the Future: A Beginner’s Guide to Unlocking the Power of 3D Printing Leave a comment
3D printing is a revolutionary technology that is quickly changing the way we create and manufacture products. With the ability to turn digital designs into physical objects, 3D printing is unlocking new possibilities for innovation and creativity. This guide is designed to help beginners understand the basics of 3D printing and how to get started with their own projects.
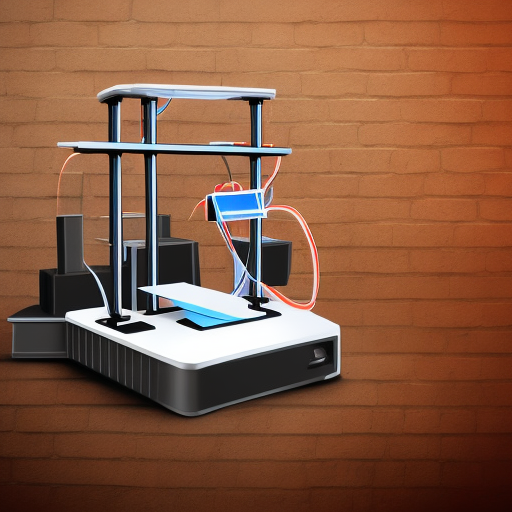
1. Choose a 3D printer:
There are a variety of 3D printers available on the market, each with their own set of features and capabilities. Some of the most popular options include FDM (fused deposition modeling) printers, SLA (stereolithography) printers, and SLS (selective laser sintering) printers. It’s important to research the different types of printers and choose one that meets your specific needs.
2. Learn how to create 3D models:
In order to print a 3D object, you first need to create a digital model of it. There are many different 3D modeling software options available, such as Tinkercad, SketchUp, and Blender. These programs allow you to create and manipulate 3D models by adding and subtracting shapes, adjusting dimensions, and applying textures and colors.
3. Prepare your model for printing:
Once you have created your 3D model, it’s important to prepare it for printing. This process typically involves “slicing” the model into layers that the printer can understand, and then “exporting” the sliced model to a format that the printer can read. Many 3D printing software, like Cura, PrusaSlicer, can help with this process.
4. Print your model:
Once your model is prepared for printing, you can send it to your printer. This process will vary depending on the type of printer you are using, but most printers will connect to your computer via USB or Ethernet cable. Many printers also come with an accompanying software, such as OctoPrint, that makes it easy to send files to your printer and monitor the printing process.
5. Post-processing:
After the model is printed, it will typically require some post-processing, such as removing any support material and smoothing out any rough surfaces. This step is important to ensure that the final product is of high quality.
6. Start printing!
With your 3D printer set up, your 3D models ready and slicing software installed, you’re ready to start printing! Remember to always keep safety in mind and to have fun with this process. There are many resources available online to help you along the way, such as tutorials, forums, and user groups.
3D printing is a powerful tool that can help you turn your ideas into reality. It takes time, patience and practice to master it, but with this guide as a starting point, you’ll be on your way to unlocking the full potential of this technology. Remember to think creatively and invent the future!